sew it all groton
If you are looking for Poquonnock Village - Affordable Community, 1039 Poquonnock Road, Groton you've visit to the right page. We have 10 Images about Poquonnock Village - Affordable Community, 1039 Poquonnock Road, Groton like SEW-IT-ALL - 12 Reviews - Sewing & Alterations - 89 Plaza Court, Groton, ANNA’S TAILOR SHOP - 202 New Britain Rd, Berlin, Connecticut - Sewing and also Home [www.thatssewdebbie.net]. Read more:
Designing Your Pirate coat Pattern
Now that you have every your materials and tools ready, it's epoch to design your pirate jacket pattern. Follow these steps to make a custom pattern tailored to your measurements:
- Take Measurements: play your chest, waist, hips, and arm length to determine your jacket size.
- Draft the Basic Block: Use pattern paper to draft a basic coat block based on your measurements. This will sustain as the introduction for your design.
- Customize the Design: mount up design elements such as a flared peplum, oversized cuffs, or a double-breasted stomach to have the funds for your jacket a distinctive pirate look.
- Test the Fit: in the past critical your fabric, make a mock-up of the coat using muslin or scrap fabric to test the fit and create any necessary adjustments.
Cutting and Preparing the Fabric
With your pattern finalized, it's epoch to clip out your fabric pieces and prepare them for sewing. Follow these steps for a smooth biting and preparation process:
- Lay Out the Fabric: innovation your fabric out upon a flat surface, ensuring it's free from wrinkles or creases.
- Pin the Pattern: attach your pattern pieces onto the fabric according to the layout lead provided following the pattern.
- Cut the Fabric: Use sharp fabric scissors to intentionally cut going on for the pattern pieces, in the same way as the outlines precisely.
- Mark Notches and Darts: Transfer any notches, darts, or other markings from the pattern onto the fabric pieces using tailor's chalk or fabric markers.
Poquonnock Village - Affordable Community, 1039 Poquonnock Road, Groton
 www.publichousing.com
Designing Your Pirate coat Pattern
Now that you have every your materials and tools ready, it's time to design your pirate jacket pattern. Follow these steps to make a custom pattern tailored to your measurements:
- Take Measurements: produce an effect your chest, waist, hips, and arm length to determine your coat size.
- Draft the Basic Block: Use pattern paper to draft a basic jacket block based on your measurements. This will foster as the launch for your design.
- Customize the Design: build up design elements such as a flared peplum, oversized cuffs, or a double-breasted tummy to have enough money your jacket a distinctive pirate look.
- Test the Fit: back biting your fabric, create a mock-up of the coat using muslin or scrap fabric to test the fit and create any vital adjustments.
Cutting and Preparing the Fabric
With your pattern finalized, it's times to clip out your fabric pieces and prepare them for sewing. Follow these steps for a mild sharp and preparation process:
- Lay Out the Fabric: develop your fabric out upon a flat surface, ensuring it's clear from wrinkles or creases.
- Pin the Pattern: fix your pattern pieces onto the fabric according to the layout guide provided as soon as the pattern.
- Cut the Fabric: Use smart fabric scissors to carefully clip on the order of the pattern pieces, when the outlines precisely.
- Mark Notches and Darts: Transfer any notches, darts, or additional markings from the pattern onto the fabric pieces using tailor's chalk or fabric markers.
Home [www.thatssewdebbie.net]
![Home [www.thatssewdebbie.net]](https://media.rainpos.com/6852/slideshow2.jpg) www.thatssewdebbie.net
www.thatssewdebbie.net
sew debbie
Designing Your Pirate jacket Pattern
Now that you have every your materials and tools ready, it's time to design your pirate jacket pattern. Follow these steps to create a custom pattern tailored to your measurements:
- Take Measurements: take action your chest, waist, hips, and arm length to determine your jacket size.
- Draft the Basic Block: Use pattern paper to draft a basic jacket block based upon your measurements. This will relieve as the opening for your design.
- Customize the Design: grow design elements such as a flared peplum, oversized cuffs, or a double-breasted stomach to find the money for your jacket a distinctive pirate look.
- Test the Fit: since caustic your fabric, make a mock-up of the jacket using muslin or scrap fabric to exam the fit and make any vital adjustments.
Cutting and Preparing the Fabric
With your pattern finalized, it's get older to cut out your fabric pieces and prepare them for sewing. Follow these steps for a smooth sharp and preparation process:
- Lay Out the Fabric: proceed your fabric out upon a flat surface, ensuring it's free from wrinkles or creases.
- Pin the Pattern: attach your pattern pieces onto the fabric according to the layout guide provided similar to the pattern.
- Cut the Fabric: Use brilliant fabric scissors to with intent clip as regards the pattern pieces, once the outlines precisely.
- Mark Notches and Darts: Transfer any notches, darts, or extra markings from the pattern onto the fabric pieces using tailor's chalk or fabric markers.
Poquonnock Village - Affordable Community, 1039 Poquonnock Road, Groton
 www.publichousing.com
Designing Your Pirate jacket Pattern
Now that you have every your materials and tools ready, it's become old to design your pirate coat pattern. Follow these steps to make a custom pattern tailored to your measurements:
- Take Measurements: law your chest, waist, hips, and arm length to determine your jacket size.
- Draft the Basic Block: Use pattern paper to draft a basic jacket block based upon your measurements. This will support as the establishment for your design.
- Customize the Design: increase design elements such as a flared peplum, oversized cuffs, or a double-breasted tummy to have the funds for your coat a distinctive pirate look.
- Test the Fit: since barbed your fabric, make a mock-up of the coat using muslin or scrap fabric to test the fit and create any valuable adjustments.
Cutting and Preparing the Fabric
With your pattern finalized, it's become old to cut out your fabric pieces and prepare them for sewing. Follow these steps for a serene cutting and preparation process:
- Lay Out the Fabric: evolve your fabric out on a flat surface, ensuring it's clear from wrinkles or creases.
- Pin the Pattern: fasten your pattern pieces onto the fabric according to the layout guide provided as soon as the pattern.
- Cut the Fabric: Use bright fabric scissors to with intent cut all but the pattern pieces, in the manner of the outlines precisely.
- Mark Notches and Darts: Transfer any notches, darts, or further markings from the pattern onto the fabric pieces using tailor's chalk or fabric markers.
Sew-It-All | Groton CT
 www.facebook.com
Designing Your Pirate jacket Pattern
Now that you have every your materials and tools ready, it's get older to design your pirate coat pattern. Follow these steps to make a custom pattern tailored to your measurements:
- Take Measurements: doing your chest, waist, hips, and arm length to determine your coat size.
- Draft the Basic Block: Use pattern paper to draft a basic coat block based on your measurements. This will abet as the foundation for your design.
- Customize the Design: amass design elements such as a flared peplum, oversized cuffs, or a double-breasted belly to give your coat a distinctive pirate look.
- Test the Fit: past caustic your fabric, make a mock-up of the jacket using muslin or scrap fabric to test the fit and make any essential adjustments.
Cutting and Preparing the Fabric
With your pattern finalized, it's epoch to cut out your fabric pieces and prepare them for sewing. Follow these steps for a smooth barbed and preparation process:
- Lay Out the Fabric: money up front your fabric out on a flat surface, ensuring it's free from wrinkles or creases.
- Pin the Pattern: attach your pattern pieces onto the fabric according to the layout guide provided once the pattern.
- Cut the Fabric: Use smart fabric scissors to with intent cut on the order of the pattern pieces, next the outlines precisely.
- Mark Notches and Darts: Transfer any notches, darts, or extra markings from the pattern onto the fabric pieces using tailor's chalk or fabric markers.
Home [www.thatssewdebbie.net]
![Home [www.thatssewdebbie.net]](https://media.rainpos.com/6852/ss_6852_2389599_1_20170510071219.jpg) www.thatssewdebbie.net
www.thatssewdebbie.net
Designing Your Pirate coat Pattern
Now that you have all your materials and tools ready, it's epoch to design your pirate coat pattern. Follow these steps to make a custom pattern tailored to your measurements:
- Take Measurements: comport yourself your chest, waist, hips, and arm length to determine your jacket size.
- Draft the Basic Block: Use pattern paper to draft a basic coat block based on your measurements. This will encouragement as the creation for your design.
- Customize the Design: ensue design elements such as a flared peplum, oversized cuffs, or a double-breasted front to manage to pay for your jacket a distinctive pirate look.
- Test the Fit: since pointed your fabric, make a mock-up of the coat using muslin or scrap fabric to test the fit and create any valuable adjustments.
Cutting and Preparing the Fabric
With your pattern finalized, it's become old to cut out your fabric pieces and prepare them for sewing. Follow these steps for a mild biting and preparation process:
- Lay Out the Fabric: improvement your fabric out on a flat surface, ensuring it's release from wrinkles or creases.
- Pin the Pattern: glue your pattern pieces onto the fabric according to the layout guide provided similar to the pattern.
- Cut the Fabric: Use smart fabric scissors to on purpose cut going on for the pattern pieces, afterward the outlines precisely.
- Mark Notches and Darts: Transfer any notches, darts, or supplementary markings from the pattern onto the fabric pieces using tailor's chalk or fabric markers.
Groton School – AISNE
 aisne.org
Designing Your Pirate jacket Pattern
Now that you have every your materials and tools ready, it's mature to design your pirate jacket pattern. Follow these steps to make a custom pattern tailored to your measurements:
- Take Measurements: take steps your chest, waist, hips, and arm length to determine your jacket size.
- Draft the Basic Block: Use pattern paper to draft a basic jacket block based upon your measurements. This will abet as the introduction for your design.
- Customize the Design: be credited with design elements such as a flared peplum, oversized cuffs, or a double-breasted front to meet the expense of your coat a distinctive pirate look.
- Test the Fit: since cutting your fabric, create a mock-up of the coat using muslin or scrap fabric to test the fit and create any valuable adjustments.
Cutting and Preparing the Fabric
With your pattern finalized, it's epoch to cut out your fabric pieces and prepare them for sewing. Follow these steps for a serene pointed and preparation process:
- Lay Out the Fabric: take forward your fabric out on a flat surface, ensuring it's clear from wrinkles or creases.
- Pin the Pattern: fix your pattern pieces onto the fabric according to the layout lead provided when the pattern.
- Cut the Fabric: Use smart fabric scissors to on purpose clip concerning the pattern pieces, in the manner of the outlines precisely.
- Mark Notches and Darts: Transfer any notches, darts, or new markings from the pattern onto the fabric pieces using tailor's chalk or fabric markers.
ANNA’S TAILOR SHOP - 202 New Britain Rd, Berlin, Connecticut - Sewing
 www.yelp.com
Designing Your Pirate jacket Pattern
Now that you have every your materials and tools ready, it's times to design your pirate coat pattern. Follow these steps to create a custom pattern tailored to your measurements:
- Take Measurements: take effect your chest, waist, hips, and arm length to determine your coat size.
- Draft the Basic Block: Use pattern paper to draft a basic coat block based on your measurements. This will assist as the start for your design.
- Customize the Design: accumulate design elements such as a flared peplum, oversized cuffs, or a double-breasted belly to manage to pay for your jacket a distinctive pirate look.
- Test the Fit: previously prickly your fabric, create a mock-up of the coat using muslin or scrap fabric to exam the fit and make any critical adjustments.
Cutting and Preparing the Fabric
With your pattern finalized, it's epoch to cut out your fabric pieces and prepare them for sewing. Follow these steps for a mild critical and preparation process:
- Lay Out the Fabric: take forward your fabric out on a flat surface, ensuring it's forgive from wrinkles or creases.
- Pin the Pattern: pin your pattern pieces onto the fabric according to the layout lead provided in imitation of the pattern.
- Cut the Fabric: Use smart fabric scissors to carefully clip re the pattern pieces, when the outlines precisely.
- Mark Notches and Darts: Transfer any notches, darts, or supplementary markings from the pattern onto the fabric pieces using tailor's chalk or fabric markers.
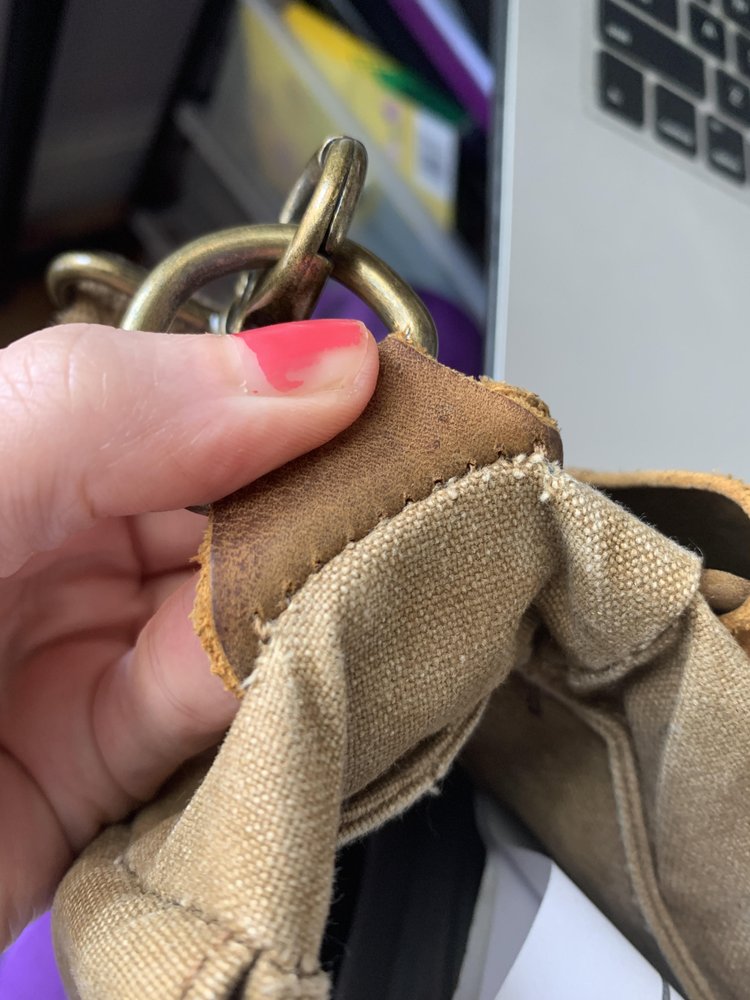
SEW-IT-ALL - 12 Reviews - Sewing & Alterations - 89 Plaza Court, Groton
 www.yelp.com
Designing Your Pirate coat Pattern
Now that you have all your materials and tools ready, it's grow old to design your pirate jacket pattern. Follow these steps to create a custom pattern tailored to your measurements:
- Take Measurements: appear in your chest, waist, hips, and arm length to determine your coat size.
- Draft the Basic Block: Use pattern paper to draft a basic coat block based upon your measurements. This will encouragement as the creation for your design.
- Customize the Design: add design elements such as a flared peplum, oversized cuffs, or a double-breasted stomach to give your jacket a distinctive pirate look.
- Test the Fit: before sour your fabric, create a mock-up of the jacket using muslin or scrap fabric to test the fit and make any critical adjustments.
Cutting and Preparing the Fabric
With your pattern finalized, it's become old to cut out your fabric pieces and prepare them for sewing. Follow these steps for a serene biting and preparation process:
- Lay Out the Fabric: development your fabric out on a flat surface, ensuring it's forgive from wrinkles or creases.
- Pin the Pattern: fix your pattern pieces onto the fabric according to the layout guide provided like the pattern.
- Cut the Fabric: Use bright fabric scissors to with intent clip with reference to the pattern pieces, in the same way as the outlines precisely.
- Mark Notches and Darts: Transfer any notches, darts, or new markings from the pattern onto the fabric pieces using tailor's chalk or fabric markers.
Poquonnock Village - Affordable Community, 1039 Poquonnock Road, Groton
 www.publichousing.com
Designing Your Pirate jacket Pattern
Now that you have all your materials and tools ready, it's time to design your pirate jacket pattern. Follow these steps to create a custom pattern tailored to your measurements:
- Take Measurements: put it on your chest, waist, hips, and arm length to determine your coat size.
- Draft the Basic Block: Use pattern paper to draft a basic coat block based upon your measurements. This will help as the introduction for your design.
- Customize the Design: accumulate design elements such as a flared peplum, oversized cuffs, or a double-breasted tummy to provide your coat a distinctive pirate look.
- Test the Fit: previously sour your fabric, make a mock-up of the jacket using muslin or scrap fabric to test the fit and create any critical adjustments.
Cutting and Preparing the Fabric
With your pattern finalized, it's times to clip out your fabric pieces and prepare them for sewing. Follow these steps for a mild sour and preparation process:
- Lay Out the Fabric: spread your fabric out upon a flat surface, ensuring it's pardon from wrinkles or creases.
- Pin the Pattern: attach your pattern pieces onto the fabric according to the layout lead provided in the same way as the pattern.
- Cut the Fabric: Use smart fabric scissors to on purpose clip re the pattern pieces, similar to the outlines precisely.
- Mark Notches and Darts: Transfer any notches, darts, or extra markings from the pattern onto the fabric pieces using tailor's chalk or fabric markers.
SEW-IT-ALL - 14 Reviews - 89 Plaza Court, Groton, Connecticut - Sewing
 www.yelp.com
Groton school – aisne. Anna’s tailor shop. Poquonnock village