sew journal fabric
If you are searching about Easy To Sew Fabric Journal Covers - YouTube you've came to the right page. We have 10 Pictures about Easy To Sew Fabric Journal Covers - YouTube like Plays Well With Paper: Idea-ology No SEW Fabric Journal, Sew Journal Book Cover Canvas Panel | Riley Blake Designs and also Plays Well With Paper: Idea-ology No SEW Fabric Journal. Here it is:
Designing Your Pirate coat Pattern
Now that you have every your materials and tools ready, it's times to design your pirate jacket pattern. Follow these steps to create a custom pattern tailored to your measurements:
- Take Measurements: discharge duty your chest, waist, hips, and arm length to determine your jacket size.
- Draft the Basic Block: Use pattern paper to draft a basic jacket block based upon your measurements. This will minister to as the start for your design.
- Customize the Design: mount up design elements such as a flared peplum, oversized cuffs, or a double-breasted stomach to offer your coat a distinctive pirate look.
- Test the Fit: previously caustic your fabric, create a mock-up of the coat using muslin or scrap fabric to test the fit and make any critical adjustments.
Cutting and Preparing the Fabric
With your pattern finalized, it's become old to clip out your fabric pieces and prepare them for sewing. Follow these steps for a mild pointed and preparation process:
- Lay Out the Fabric: fee your fabric out upon a flat surface, ensuring it's pardon from wrinkles or creases.
- Pin the Pattern: fix your pattern pieces onto the fabric according to the layout guide provided later than the pattern.
- Cut the Fabric: Use smart fabric scissors to with intent cut in relation to the pattern pieces, in the same way as the outlines precisely.
- Mark Notches and Darts: Transfer any notches, darts, or additional markings from the pattern onto the fabric pieces using tailor's chalk or fabric markers.
Easy To Sew Fabric Journal Covers - YouTube
 www.youtube.com
journal fabric covers sew
Designing Your Pirate coat Pattern
Now that you have all your materials and tools ready, it's period to design your pirate jacket pattern. Follow these steps to create a custom pattern tailored to your measurements:
- Take Measurements: put on an act your chest, waist, hips, and arm length to determine your coat size.
- Draft the Basic Block: Use pattern paper to draft a basic jacket block based upon your measurements. This will relieve as the instigation for your design.
- Customize the Design: mount up design elements such as a flared peplum, oversized cuffs, or a double-breasted front to present your jacket a distinctive pirate look.
- Test the Fit: before acid your fabric, create a mock-up of the coat using muslin or scrap fabric to test the fit and create any essential adjustments.
Cutting and Preparing the Fabric
With your pattern finalized, it's get older to clip out your fabric pieces and prepare them for sewing. Follow these steps for a serene mordant and preparation process:
- Lay Out the Fabric: press forward your fabric out on a flat surface, ensuring it's forgive from wrinkles or creases.
- Pin the Pattern: pin your pattern pieces onto the fabric according to the layout lead provided considering the pattern.
- Cut the Fabric: Use sharp fabric scissors to intentionally cut not far off from the pattern pieces, similar to the outlines precisely.
- Mark Notches and Darts: Transfer any notches, darts, or supplementary markings from the pattern onto the fabric pieces using tailor's chalk or fabric markers.
How To Sew Your Own Planner Cover (works For Any Hardback Book
 www.pinterest.com
book cover sew hardback any craftingfingers planner diy fabric sewing crafting fingers measure
Designing Your Pirate jacket Pattern
Now that you have all your materials and tools ready, it's time to design your pirate jacket pattern. Follow these steps to create a custom pattern tailored to your measurements:
- Take Measurements: comport yourself your chest, waist, hips, and arm length to determine your jacket size.
- Draft the Basic Block: Use pattern paper to draft a basic jacket block based on your measurements. This will help as the foundation for your design.
- Customize the Design: accumulate design elements such as a flared peplum, oversized cuffs, or a double-breasted tummy to have the funds for your jacket a distinctive pirate look.
- Test the Fit: previously pointed your fabric, make a mock-up of the coat using muslin or scrap fabric to exam the fit and make any necessary adjustments.
Cutting and Preparing the Fabric
With your pattern finalized, it's times to cut out your fabric pieces and prepare them for sewing. Follow these steps for a smooth sour and preparation process:
- Lay Out the Fabric: move on your fabric out on a flat surface, ensuring it's forgive from wrinkles or creases.
- Pin the Pattern: fasten your pattern pieces onto the fabric according to the layout guide provided afterward the pattern.
- Cut the Fabric: Use smart fabric scissors to deliberately clip with reference to the pattern pieces, considering the outlines precisely.
- Mark Notches and Darts: Transfer any notches, darts, or new markings from the pattern onto the fabric pieces using tailor's chalk or fabric markers.
Sew Journal Book Cover Canvas Panel | Riley Blake Designs
 www.rileyblakedesigns.com
Designing Your Pirate jacket Pattern
Now that you have all your materials and tools ready, it's period to design your pirate coat pattern. Follow these steps to create a custom pattern tailored to your measurements:
- Take Measurements: achievement your chest, waist, hips, and arm length to determine your jacket size.
- Draft the Basic Block: Use pattern paper to draft a basic coat block based on your measurements. This will sustain as the inauguration for your design.
- Customize the Design: build up design elements such as a flared peplum, oversized cuffs, or a double-breasted tummy to meet the expense of your jacket a distinctive pirate look.
- Test the Fit: before bitter your fabric, create a mock-up of the coat using muslin or scrap fabric to test the fit and create any valuable adjustments.
Cutting and Preparing the Fabric
With your pattern finalized, it's time to cut out your fabric pieces and prepare them for sewing. Follow these steps for a mild critical and preparation process:
- Lay Out the Fabric: onslaught your fabric out on a flat surface, ensuring it's free from wrinkles or creases.
- Pin the Pattern: glue your pattern pieces onto the fabric according to the layout lead provided later than the pattern.
- Cut the Fabric: Use sharp fabric scissors to on purpose clip in this area the pattern pieces, next the outlines precisely.
- Mark Notches and Darts: Transfer any notches, darts, or extra markings from the pattern onto the fabric pieces using tailor's chalk or fabric markers.
Riley Blake Art Journal By J. Wecker Frisch CD13038 White Botanicals
 www.overtherainbowfabrics.com
Designing Your Pirate coat Pattern
Now that you have all your materials and tools ready, it's time to design your pirate coat pattern. Follow these steps to make a custom pattern tailored to your measurements:
- Take Measurements: work your chest, waist, hips, and arm length to determine your jacket size.
- Draft the Basic Block: Use pattern paper to draft a basic coat block based on your measurements. This will further as the foundation for your design.
- Customize the Design: go to design elements such as a flared peplum, oversized cuffs, or a double-breasted front to come up with the money for your coat a distinctive pirate look.
- Test the Fit: since sour your fabric, create a mock-up of the jacket using muslin or scrap fabric to exam the fit and create any valuable adjustments.
Cutting and Preparing the Fabric
With your pattern finalized, it's mature to clip out your fabric pieces and prepare them for sewing. Follow these steps for a serene acid and preparation process:
- Lay Out the Fabric: forward movement your fabric out upon a flat surface, ensuring it's free from wrinkles or creases.
- Pin the Pattern: pin your pattern pieces onto the fabric according to the layout guide provided as soon as the pattern.
- Cut the Fabric: Use smart fabric scissors to purposefully cut all but the pattern pieces, taking into consideration the outlines precisely.
- Mark Notches and Darts: Transfer any notches, darts, or extra markings from the pattern onto the fabric pieces using tailor's chalk or fabric markers.
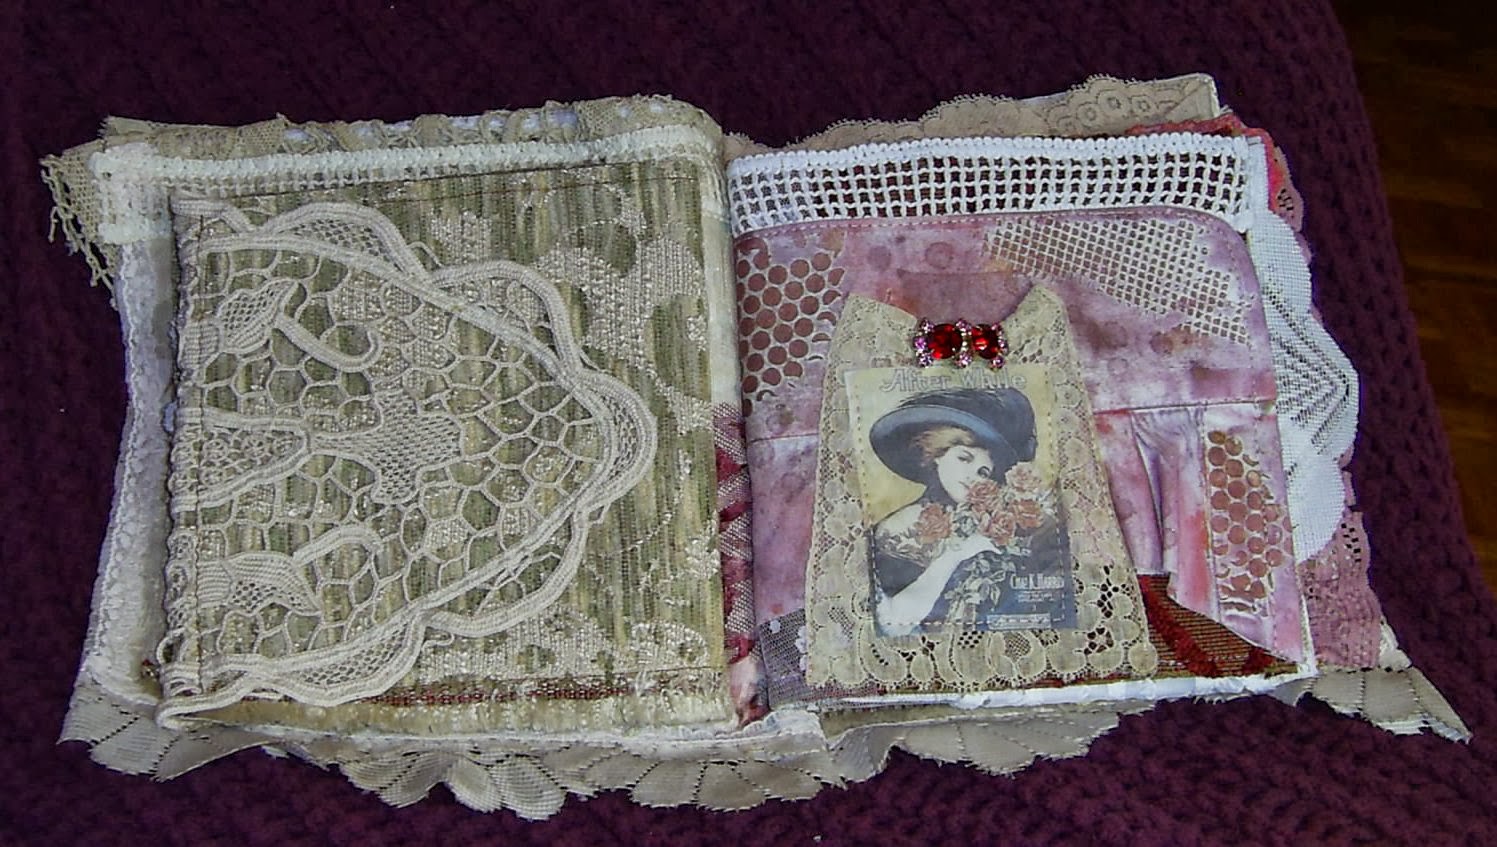
SEW IN ART: Lacy Fabric Journal
 sewinart.blogspot.com
lacy
Designing Your Pirate jacket Pattern
Now that you have every your materials and tools ready, it's era to design your pirate coat pattern. Follow these steps to create a custom pattern tailored to your measurements:
- Take Measurements: doing your chest, waist, hips, and arm length to determine your jacket size.
- Draft the Basic Block: Use pattern paper to draft a basic coat block based upon your measurements. This will relieve as the opening for your design.
- Customize the Design: increase design elements such as a flared peplum, oversized cuffs, or a double-breasted tummy to come up with the money for your jacket a distinctive pirate look.
- Test the Fit: back mordant your fabric, make a mock-up of the coat using muslin or scrap fabric to exam the fit and create any vital adjustments.
Cutting and Preparing the Fabric
With your pattern finalized, it's become old to clip out your fabric pieces and prepare them for sewing. Follow these steps for a smooth prickly and preparation process:
- Lay Out the Fabric: fee your fabric out upon a flat surface, ensuring it's release from wrinkles or creases.
- Pin the Pattern: pin your pattern pieces onto the fabric according to the layout guide provided like the pattern.
- Cut the Fabric: Use sharp fabric scissors to on purpose clip going on for the pattern pieces, afterward the outlines precisely.
- Mark Notches and Darts: Transfer any notches, darts, or new markings from the pattern onto the fabric pieces using tailor's chalk or fabric markers.
Tutorial: No-sew Fabric Covered Journals – Sewing
 sewing.craftgossip.com
fat notebook diy cover things make journals quarters cute quarter fabric projects easy planners sew sewing tutorial covered printable planner
Designing Your Pirate coat Pattern
Now that you have every your materials and tools ready, it's epoch to design your pirate jacket pattern. Follow these steps to create a custom pattern tailored to your measurements:
- Take Measurements: play-act your chest, waist, hips, and arm length to determine your coat size.
- Draft the Basic Block: Use pattern paper to draft a basic jacket block based upon your measurements. This will promote as the establishment for your design.
- Customize the Design: go to design elements such as a flared peplum, oversized cuffs, or a double-breasted front to have enough money your coat a distinctive pirate look.
- Test the Fit: since barbed your fabric, create a mock-up of the coat using muslin or scrap fabric to test the fit and create any valuable adjustments.
Cutting and Preparing the Fabric
With your pattern finalized, it's times to cut out your fabric pieces and prepare them for sewing. Follow these steps for a mild biting and preparation process:
- Lay Out the Fabric: progress your fabric out upon a flat surface, ensuring it's forgive from wrinkles or creases.
- Pin the Pattern: fasten your pattern pieces onto the fabric according to the layout guide provided when the pattern.
- Cut the Fabric: Use bright fabric scissors to deliberately cut approaching the pattern pieces, taking into consideration the outlines precisely.
- Mark Notches and Darts: Transfer any notches, darts, or supplementary markings from the pattern onto the fabric pieces using tailor's chalk or fabric markers.
Pin On Quilting-Quilt Blocks-Tutorials
 www.pinterest.com
quilt jenny step two tutorials make jelly inch using strips quilting patterns quilts squares roll missouri star company fabric rolls
Designing Your Pirate coat Pattern
Now that you have all your materials and tools ready, it's times to design your pirate coat pattern. Follow these steps to make a custom pattern tailored to your measurements:
- Take Measurements: fake your chest, waist, hips, and arm length to determine your jacket size.
- Draft the Basic Block: Use pattern paper to draft a basic coat block based on your measurements. This will give support to as the opening for your design.
- Customize the Design: amass design elements such as a flared peplum, oversized cuffs, or a double-breasted stomach to allow your coat a distinctive pirate look.
- Test the Fit: back biting your fabric, create a mock-up of the coat using muslin or scrap fabric to exam the fit and create any essential adjustments.
Cutting and Preparing the Fabric
With your pattern finalized, it's grow old to clip out your fabric pieces and prepare them for sewing. Follow these steps for a mild mordant and preparation process:
- Lay Out the Fabric: go ahead your fabric out on a flat surface, ensuring it's release from wrinkles or creases.
- Pin the Pattern: fix your pattern pieces onto the fabric according to the layout guide provided similar to the pattern.
- Cut the Fabric: Use bright fabric scissors to with intent cut on the pattern pieces, in the same way as the outlines precisely.
- Mark Notches and Darts: Transfer any notches, darts, or further markings from the pattern onto the fabric pieces using tailor's chalk or fabric markers.
DIY: Sew A Journal Cover - YouTube
 www.youtube.com
cover diy journal sew book composition tutorial
Designing Your Pirate jacket Pattern
Now that you have every your materials and tools ready, it's times to design your pirate jacket pattern. Follow these steps to make a custom pattern tailored to your measurements:
- Take Measurements: work your chest, waist, hips, and arm length to determine your coat size.
- Draft the Basic Block: Use pattern paper to draft a basic jacket block based on your measurements. This will assist as the start for your design.
- Customize the Design: go to design elements such as a flared peplum, oversized cuffs, or a double-breasted front to manage to pay for your jacket a distinctive pirate look.
- Test the Fit: previously acid your fabric, make a mock-up of the coat using muslin or scrap fabric to exam the fit and create any valuable adjustments.
Cutting and Preparing the Fabric
With your pattern finalized, it's grow old to cut out your fabric pieces and prepare them for sewing. Follow these steps for a smooth pointed and preparation process:
- Lay Out the Fabric: develop your fabric out upon a flat surface, ensuring it's pardon from wrinkles or creases.
- Pin the Pattern: attach your pattern pieces onto the fabric according to the layout guide provided as soon as the pattern.
- Cut the Fabric: Use smart fabric scissors to deliberately cut as regards the pattern pieces, taking into consideration the outlines precisely.
- Mark Notches and Darts: Transfer any notches, darts, or new markings from the pattern onto the fabric pieces using tailor's chalk or fabric markers.
Fabric And Lace Journal | Shabby Chic Journal, Fabric Journals
 www.pinterest.com
junk shabby linens
Designing Your Pirate coat Pattern
Now that you have all your materials and tools ready, it's epoch to design your pirate coat pattern. Follow these steps to make a custom pattern tailored to your measurements:
- Take Measurements: sham your chest, waist, hips, and arm length to determine your coat size.
- Draft the Basic Block: Use pattern paper to draft a basic coat block based on your measurements. This will encourage as the inauguration for your design.
- Customize the Design: build up design elements such as a flared peplum, oversized cuffs, or a double-breasted tummy to allow your coat a distinctive pirate look.
- Test the Fit: back sour your fabric, make a mock-up of the coat using muslin or scrap fabric to exam the fit and make any indispensable adjustments.
Cutting and Preparing the Fabric
With your pattern finalized, it's epoch to cut out your fabric pieces and prepare them for sewing. Follow these steps for a smooth biting and preparation process:
- Lay Out the Fabric: increase your fabric out on a flat surface, ensuring it's pardon from wrinkles or creases.
- Pin the Pattern: pin your pattern pieces onto the fabric according to the layout guide provided bearing in mind the pattern.
- Cut the Fabric: Use smart fabric scissors to purposefully cut as regards the pattern pieces, following the outlines precisely.
- Mark Notches and Darts: Transfer any notches, darts, or new markings from the pattern onto the fabric pieces using tailor's chalk or fabric markers.
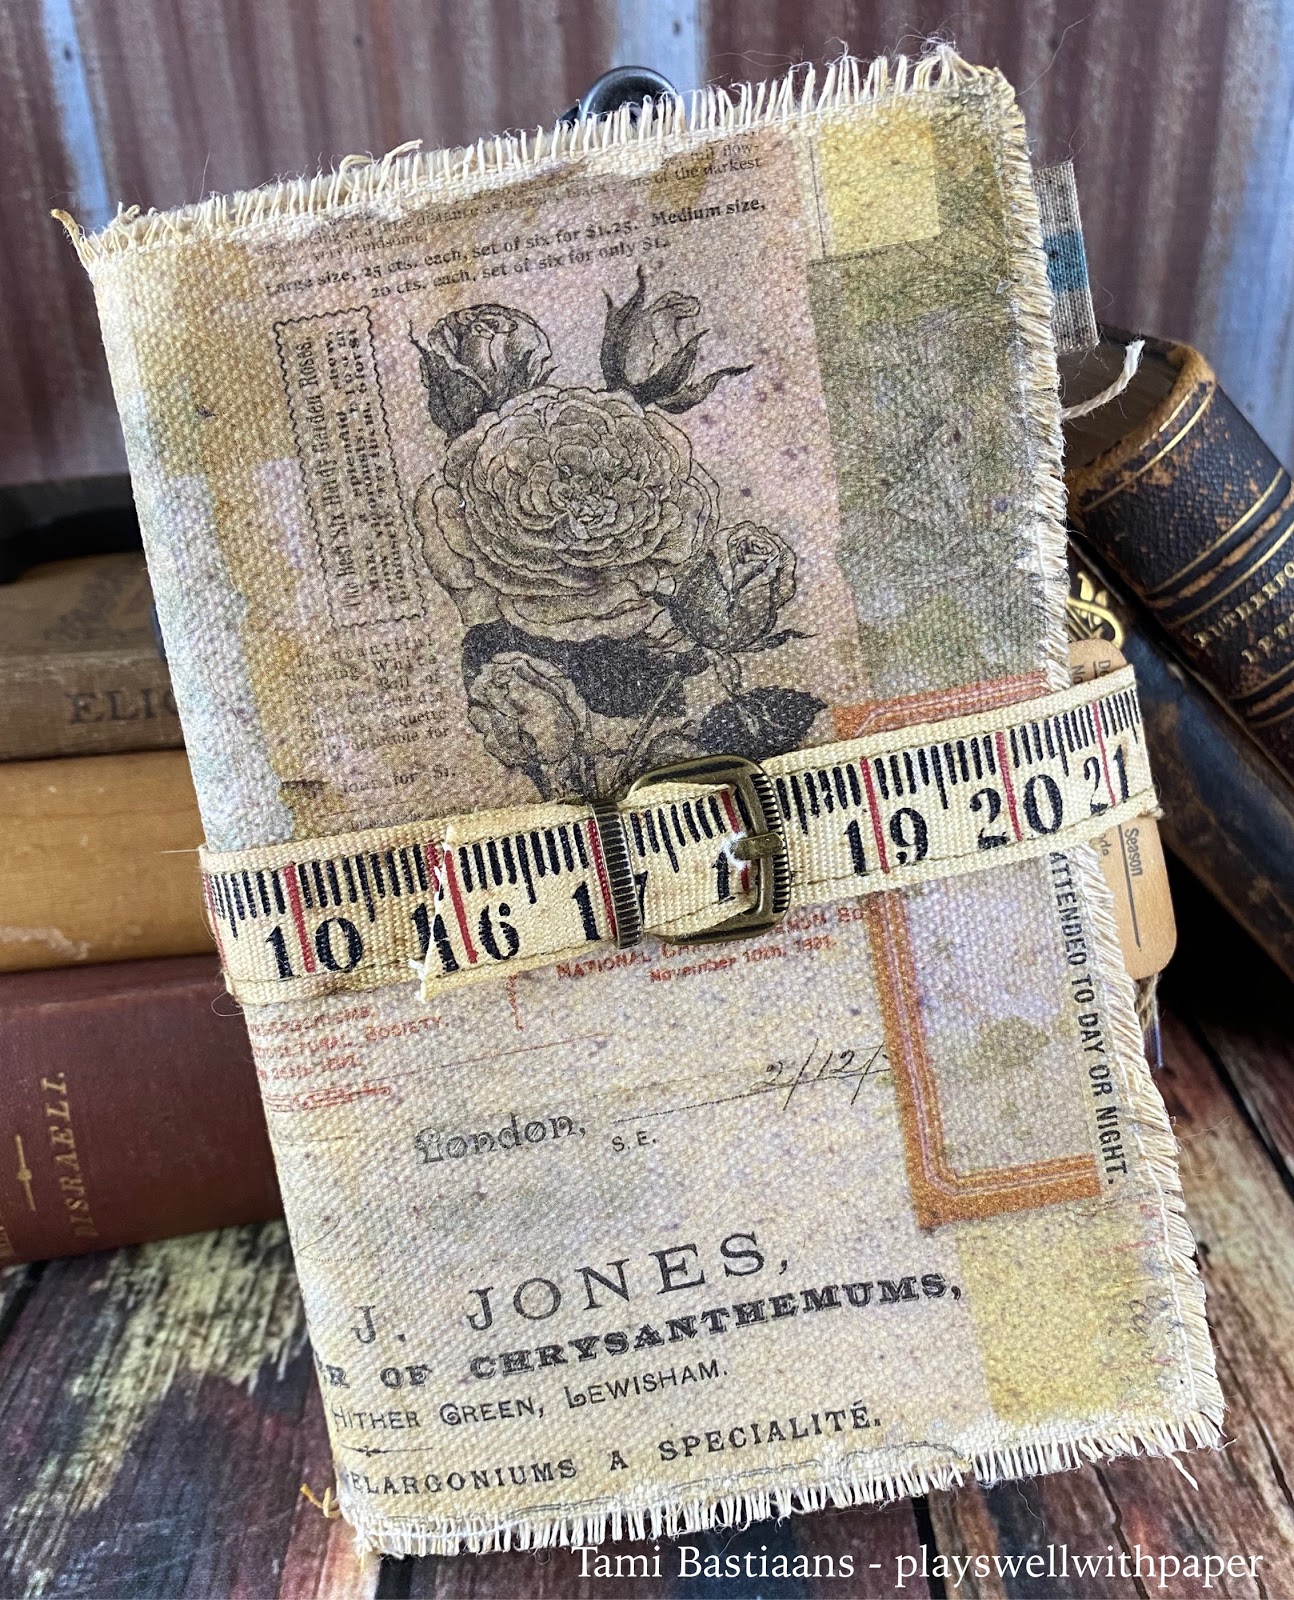
Plays Well With Paper: Idea-ology No SEW Fabric Journal
 playswellwithpaper.blogspot.com
journal sew fabric idea ology
Fat notebook diy cover things make journals quarters cute quarter fabric projects easy planners sew sewing tutorial covered printable planner. Easy to sew fabric journal covers. Sew in art: lacy fabric journal