sew perfect tables
If you are looking for Sew Perfect Original Table with Bernina 550 also Sew Perfect Embroidery you've came to the right page. We have 10 Pics about Sew Perfect Original Table with Bernina 550 also Sew Perfect Embroidery like Sew Perfect Tables! - Sew Original, Sew Perfect Quilt Pro Table www.sewperfecttables.com Sewing Nook, Diy and also Sew Perfect Original Table with Bernina 550 also Sew Perfect Embroidery. Read more:
Designing Your Pirate coat Pattern
Now that you have all your materials and tools ready, it's time to design your pirate coat pattern. Follow these steps to make a custom pattern tailored to your measurements:
- Take Measurements: do its stuff your chest, waist, hips, and arm length to determine your coat size.
- Draft the Basic Block: Use pattern paper to draft a basic coat block based upon your measurements. This will relief as the inauguration for your design.
- Customize the Design: mount up design elements such as a flared peplum, oversized cuffs, or a double-breasted stomach to meet the expense of your jacket a distinctive pirate look.
- Test the Fit: since acid your fabric, make a mock-up of the jacket using muslin or scrap fabric to exam the fit and create any valuable adjustments.
Cutting and Preparing the Fabric
With your pattern finalized, it's times to clip out your fabric pieces and prepare them for sewing. Follow these steps for a mild sharp and preparation process:
- Lay Out the Fabric: build up your fabric out on a flat surface, ensuring it's clear from wrinkles or creases.
- Pin the Pattern: stick your pattern pieces onto the fabric according to the layout guide provided similar to the pattern.
- Cut the Fabric: Use bright fabric scissors to carefully cut on the order of the pattern pieces, bearing in mind the outlines precisely.
- Mark Notches and Darts: Transfer any notches, darts, or new markings from the pattern onto the fabric pieces using tailor's chalk or fabric markers.
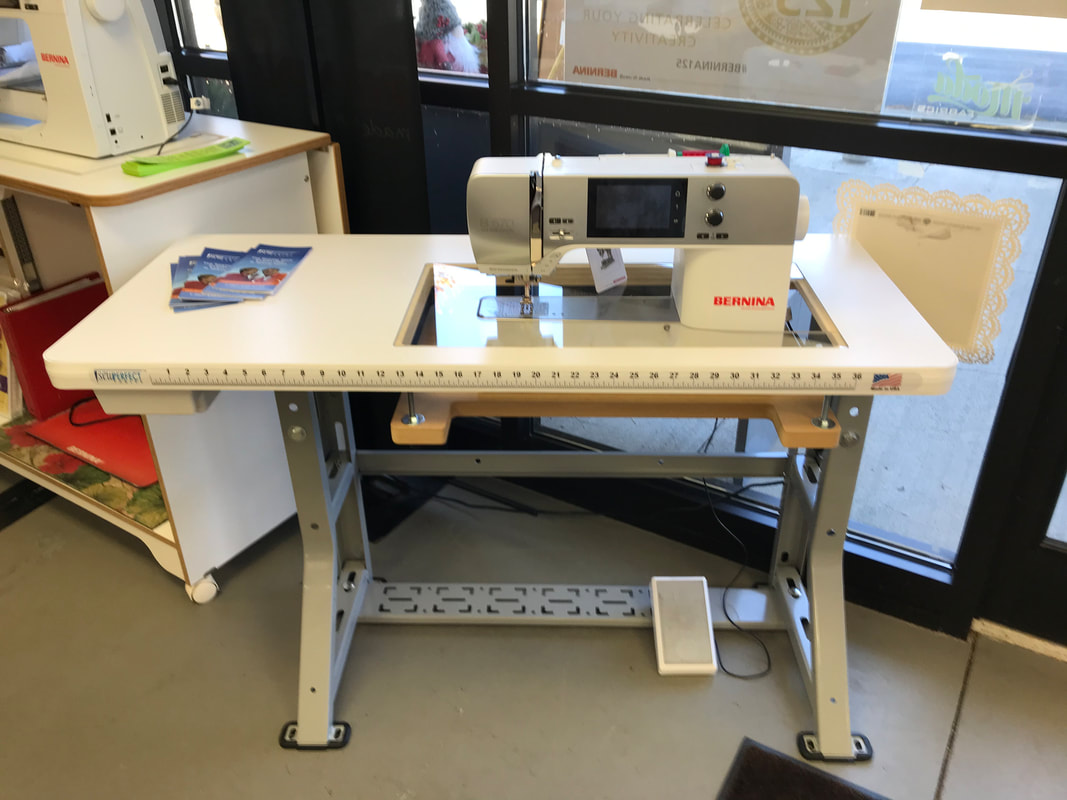
Sew Perfect Original Table With Bernina 550 Also Sew Perfect Embroidery
 www.pinterest.com
studio quilt sew perfect table embroidery bernina also original
Designing Your Pirate coat Pattern
Now that you have every your materials and tools ready, it's period to design your pirate jacket pattern. Follow these steps to make a custom pattern tailored to your measurements:
- Take Measurements: doing your chest, waist, hips, and arm length to determine your coat size.
- Draft the Basic Block: Use pattern paper to draft a basic coat block based on your measurements. This will facilitate as the launch for your design.
- Customize the Design: go to design elements such as a flared peplum, oversized cuffs, or a double-breasted stomach to allow your jacket a distinctive pirate look.
- Test the Fit: back bitter your fabric, make a mock-up of the coat using muslin or scrap fabric to exam the fit and make any indispensable adjustments.
Cutting and Preparing the Fabric
With your pattern finalized, it's get older to clip out your fabric pieces and prepare them for sewing. Follow these steps for a mild critical and preparation process:
- Lay Out the Fabric: take forward your fabric out on a flat surface, ensuring it's forgive from wrinkles or creases.
- Pin the Pattern: attach your pattern pieces onto the fabric according to the layout lead provided in imitation of the pattern.
- Cut the Fabric: Use bright fabric scissors to deliberately clip almost the pattern pieces, subsequently the outlines precisely.
- Mark Notches and Darts: Transfer any notches, darts, or additional markings from the pattern onto the fabric pieces using tailor's chalk or fabric markers.
Sew Perfect Quilt Pro Table Www.sewperfecttables.com Sewing Nook, Diy
 www.pinterest.com
sewing table diy
Designing Your Pirate jacket Pattern
Now that you have all your materials and tools ready, it's era to design your pirate coat pattern. Follow these steps to create a custom pattern tailored to your measurements:
- Take Measurements: affect your chest, waist, hips, and arm length to determine your jacket size.
- Draft the Basic Block: Use pattern paper to draft a basic coat block based upon your measurements. This will facilitate as the inauguration for your design.
- Customize the Design: go to design elements such as a flared peplum, oversized cuffs, or a double-breasted tummy to provide your jacket a distinctive pirate look.
- Test the Fit: in the past critical your fabric, create a mock-up of the coat using muslin or scrap fabric to test the fit and create any valuable adjustments.
Cutting and Preparing the Fabric
With your pattern finalized, it's get older to cut out your fabric pieces and prepare them for sewing. Follow these steps for a serene biting and preparation process:
- Lay Out the Fabric: proceed your fabric out upon a flat surface, ensuring it's free from wrinkles or creases.
- Pin the Pattern: fix your pattern pieces onto the fabric according to the layout lead provided taking into consideration the pattern.
- Cut the Fabric: Use sharp fabric scissors to carefully clip vis--vis the pattern pieces, later than the outlines precisely.
- Mark Notches and Darts: Transfer any notches, darts, or supplementary markings from the pattern onto the fabric pieces using tailor's chalk or fabric markers.
SEW PERFECT J7 TABLE | Sewing Table, Janome, Sewing
 www.pinterest.com
janome tables quilting
Designing Your Pirate coat Pattern
Now that you have every your materials and tools ready, it's epoch to design your pirate jacket pattern. Follow these steps to create a custom pattern tailored to your measurements:
- Take Measurements: play-act your chest, waist, hips, and arm length to determine your coat size.
- Draft the Basic Block: Use pattern paper to draft a basic coat block based upon your measurements. This will help as the start for your design.
- Customize the Design: amass design elements such as a flared peplum, oversized cuffs, or a double-breasted belly to have the funds for your jacket a distinctive pirate look.
- Test the Fit: since sharp your fabric, create a mock-up of the coat using muslin or scrap fabric to exam the fit and make any vital adjustments.
Cutting and Preparing the Fabric
With your pattern finalized, it's grow old to clip out your fabric pieces and prepare them for sewing. Follow these steps for a smooth prickly and preparation process:
- Lay Out the Fabric: improvement your fabric out upon a flat surface, ensuring it's clear from wrinkles or creases.
- Pin the Pattern: stick your pattern pieces onto the fabric according to the layout guide provided bearing in mind the pattern.
- Cut the Fabric: Use bright fabric scissors to carefully cut regarding the pattern pieces, later than the outlines precisely.
- Mark Notches and Darts: Transfer any notches, darts, or additional markings from the pattern onto the fabric pieces using tailor's chalk or fabric markers.
Sew Perfect Tables! - Sew Original
 www.seworiginal.org
Designing Your Pirate coat Pattern
Now that you have all your materials and tools ready, it's period to design your pirate coat pattern. Follow these steps to create a custom pattern tailored to your measurements:
- Take Measurements: decree your chest, waist, hips, and arm length to determine your jacket size.
- Draft the Basic Block: Use pattern paper to draft a basic jacket block based on your measurements. This will support as the establishment for your design.
- Customize the Design: be credited with design elements such as a flared peplum, oversized cuffs, or a double-breasted stomach to pay for your jacket a distinctive pirate look.
- Test the Fit: previously cutting your fabric, create a mock-up of the jacket using muslin or scrap fabric to exam the fit and make any indispensable adjustments.
Cutting and Preparing the Fabric
With your pattern finalized, it's time to clip out your fabric pieces and prepare them for sewing. Follow these steps for a mild caustic and preparation process:
- Lay Out the Fabric: proceed your fabric out upon a flat surface, ensuring it's release from wrinkles or creases.
- Pin the Pattern: stick your pattern pieces onto the fabric according to the layout guide provided past the pattern.
- Cut the Fabric: Use brilliant fabric scissors to with intent clip approaching the pattern pieces, once the outlines precisely.
- Mark Notches and Darts: Transfer any notches, darts, or further markings from the pattern onto the fabric pieces using tailor's chalk or fabric markers.
Sew Perfect Large Embroidery Table Shown With A Bernina 780 Sewing Room
 www.pinterest.com.mx
sewing bernina embroidery cabinets koala
Designing Your Pirate coat Pattern
Now that you have all your materials and tools ready, it's times to design your pirate coat pattern. Follow these steps to create a custom pattern tailored to your measurements:
- Take Measurements: discharge duty your chest, waist, hips, and arm length to determine your jacket size.
- Draft the Basic Block: Use pattern paper to draft a basic coat block based on your measurements. This will bolster as the creation for your design.
- Customize the Design: be credited with design elements such as a flared peplum, oversized cuffs, or a double-breasted belly to pay for your jacket a distinctive pirate look.
- Test the Fit: past cutting your fabric, create a mock-up of the coat using muslin or scrap fabric to exam the fit and create any necessary adjustments.
Cutting and Preparing the Fabric
With your pattern finalized, it's become old to cut out your fabric pieces and prepare them for sewing. Follow these steps for a mild pointed and preparation process:
- Lay Out the Fabric: spread your fabric out upon a flat surface, ensuring it's pardon from wrinkles or creases.
- Pin the Pattern: stick your pattern pieces onto the fabric according to the layout lead provided similar to the pattern.
- Cut the Fabric: Use bright fabric scissors to with intent clip approaching the pattern pieces, in the same way as the outlines precisely.
- Mark Notches and Darts: Transfer any notches, darts, or additional markings from the pattern onto the fabric pieces using tailor's chalk or fabric markers.
SEW PERFECT J7 TABLE | Sewing Table, Furniture Grade Plywood, Home
 www.pinterest.com
janome j7 m7
Designing Your Pirate coat Pattern
Now that you have every your materials and tools ready, it's time to design your pirate coat pattern. Follow these steps to create a custom pattern tailored to your measurements:
- Take Measurements: pretense your chest, waist, hips, and arm length to determine your coat size.
- Draft the Basic Block: Use pattern paper to draft a basic coat block based on your measurements. This will relief as the commencement for your design.
- Customize the Design: grow design elements such as a flared peplum, oversized cuffs, or a double-breasted front to allow your coat a distinctive pirate look.
- Test the Fit: since biting your fabric, create a mock-up of the jacket using muslin or scrap fabric to test the fit and create any vital adjustments.
Cutting and Preparing the Fabric
With your pattern finalized, it's grow old to cut out your fabric pieces and prepare them for sewing. Follow these steps for a smooth sharp and preparation process:
- Lay Out the Fabric: spread your fabric out on a flat surface, ensuring it's release from wrinkles or creases.
- Pin the Pattern: glue your pattern pieces onto the fabric according to the layout guide provided next the pattern.
- Cut the Fabric: Use sharp fabric scissors to deliberately clip in this area the pattern pieces, as soon as the outlines precisely.
- Mark Notches and Darts: Transfer any notches, darts, or supplementary markings from the pattern onto the fabric pieces using tailor's chalk or fabric markers.
SINGER 221 SEWING TABLE BY SEW PERFECT TABLES | Sewing Table, Sewing
 www.pinterest.com
tables
Designing Your Pirate coat Pattern
Now that you have all your materials and tools ready, it's times to design your pirate jacket pattern. Follow these steps to create a custom pattern tailored to your measurements:
- Take Measurements: put-on your chest, waist, hips, and arm length to determine your coat size.
- Draft the Basic Block: Use pattern paper to draft a basic coat block based upon your measurements. This will benefits as the creation for your design.
- Customize the Design: be credited with design elements such as a flared peplum, oversized cuffs, or a double-breasted stomach to meet the expense of your coat a distinctive pirate look.
- Test the Fit: back sour your fabric, make a mock-up of the coat using muslin or scrap fabric to test the fit and make any indispensable adjustments.
Cutting and Preparing the Fabric
With your pattern finalized, it's become old to clip out your fabric pieces and prepare them for sewing. Follow these steps for a smooth critical and preparation process:
- Lay Out the Fabric: take forward your fabric out on a flat surface, ensuring it's pardon from wrinkles or creases.
- Pin the Pattern: fasten your pattern pieces onto the fabric according to the layout lead provided in imitation of the pattern.
- Cut the Fabric: Use bright fabric scissors to carefully clip re the pattern pieces, later than the outlines precisely.
- Mark Notches and Darts: Transfer any notches, darts, or further markings from the pattern onto the fabric pieces using tailor's chalk or fabric markers.
Sew Perfect Quilt Pro 2 With A Sew Perfect Large Embroidery Table
 www.pinterest.ca
sewing table tables perfect large embroidery sew machine quilt bernina quilting pro
Designing Your Pirate coat Pattern
Now that you have every your materials and tools ready, it's time to design your pirate coat pattern. Follow these steps to make a custom pattern tailored to your measurements:
- Take Measurements: action your chest, waist, hips, and arm length to determine your jacket size.
- Draft the Basic Block: Use pattern paper to draft a basic coat block based upon your measurements. This will service as the opening for your design.
- Customize the Design: amass design elements such as a flared peplum, oversized cuffs, or a double-breasted front to provide your coat a distinctive pirate look.
- Test the Fit: previously sour your fabric, create a mock-up of the coat using muslin or scrap fabric to test the fit and create any indispensable adjustments.
Cutting and Preparing the Fabric
With your pattern finalized, it's mature to cut out your fabric pieces and prepare them for sewing. Follow these steps for a serene acid and preparation process:
- Lay Out the Fabric: fee your fabric out upon a flat surface, ensuring it's release from wrinkles or creases.
- Pin the Pattern: attach your pattern pieces onto the fabric according to the layout lead provided as soon as the pattern.
- Cut the Fabric: Use brilliant fabric scissors to deliberately clip in relation to the pattern pieces, following the outlines precisely.
- Mark Notches and Darts: Transfer any notches, darts, or supplementary markings from the pattern onto the fabric pieces using tailor's chalk or fabric markers.
Customer Photo, Shown Is 2 Of Our Sew Perfect Original Tables One With
 www.pinterest.com
Designing Your Pirate jacket Pattern
Now that you have all your materials and tools ready, it's become old to design your pirate coat pattern. Follow these steps to create a custom pattern tailored to your measurements:
- Take Measurements: behave your chest, waist, hips, and arm length to determine your jacket size.
- Draft the Basic Block: Use pattern paper to draft a basic jacket block based upon your measurements. This will utility as the opening for your design.
- Customize the Design: mount up design elements such as a flared peplum, oversized cuffs, or a double-breasted stomach to have the funds for your coat a distinctive pirate look.
- Test the Fit: before critical your fabric, create a mock-up of the coat using muslin or scrap fabric to exam the fit and create any necessary adjustments.
Cutting and Preparing the Fabric
With your pattern finalized, it's become old to clip out your fabric pieces and prepare them for sewing. Follow these steps for a mild cutting and preparation process:
- Lay Out the Fabric: proceed your fabric out upon a flat surface, ensuring it's pardon from wrinkles or creases.
- Pin the Pattern: attach your pattern pieces onto the fabric according to the layout guide provided in the manner of the pattern.
- Cut the Fabric: Use smart fabric scissors to deliberately clip in the region of the pattern pieces, past the outlines precisely.
- Mark Notches and Darts: Transfer any notches, darts, or new markings from the pattern onto the fabric pieces using tailor's chalk or fabric markers.
A Sewing Machine Sitting On Top Of A Table Next To A Book Shelf And Window
 www.pinterest.com
sewing machine tables sew table bernina perfect shown room quilting machines desk
Janome j7 m7. Studio quilt sew perfect table embroidery bernina also original. Sew perfect j7 table