sewing for halloween
If you are searching about 25 Halloween Patterns to Sew This Year - Crazy Little Projects you've came to the right place. We have 10 Pics about 25 Halloween Patterns to Sew This Year - Crazy Little Projects like 25 Halloween Patterns to Sew This Year - Crazy Little Projects, 25 Halloween Sewing Project Ideas- The Polka Dot Chair and also 20+ Halloween sewing projects - Swoodson Says. Read more:
Designing Your Pirate coat Pattern
Now that you have all your materials and tools ready, it's times to design your pirate coat pattern. Follow these steps to make a custom pattern tailored to your measurements:
- Take Measurements: put it on your chest, waist, hips, and arm length to determine your coat size.
- Draft the Basic Block: Use pattern paper to draft a basic coat block based upon your measurements. This will assistance as the establishment for your design.
- Customize the Design: go to design elements such as a flared peplum, oversized cuffs, or a double-breasted tummy to allow your coat a distinctive pirate look.
- Test the Fit: past mordant your fabric, create a mock-up of the coat using muslin or scrap fabric to exam the fit and make any critical adjustments.
Cutting and Preparing the Fabric
With your pattern finalized, it's period to cut out your fabric pieces and prepare them for sewing. Follow these steps for a serene cutting and preparation process:
- Lay Out the Fabric: proceed your fabric out on a flat surface, ensuring it's free from wrinkles or creases.
- Pin the Pattern: stick your pattern pieces onto the fabric according to the layout lead provided with the pattern.
- Cut the Fabric: Use smart fabric scissors to on purpose clip almost the pattern pieces, considering the outlines precisely.
- Mark Notches and Darts: Transfer any notches, darts, or extra markings from the pattern onto the fabric pieces using tailor's chalk or fabric markers.
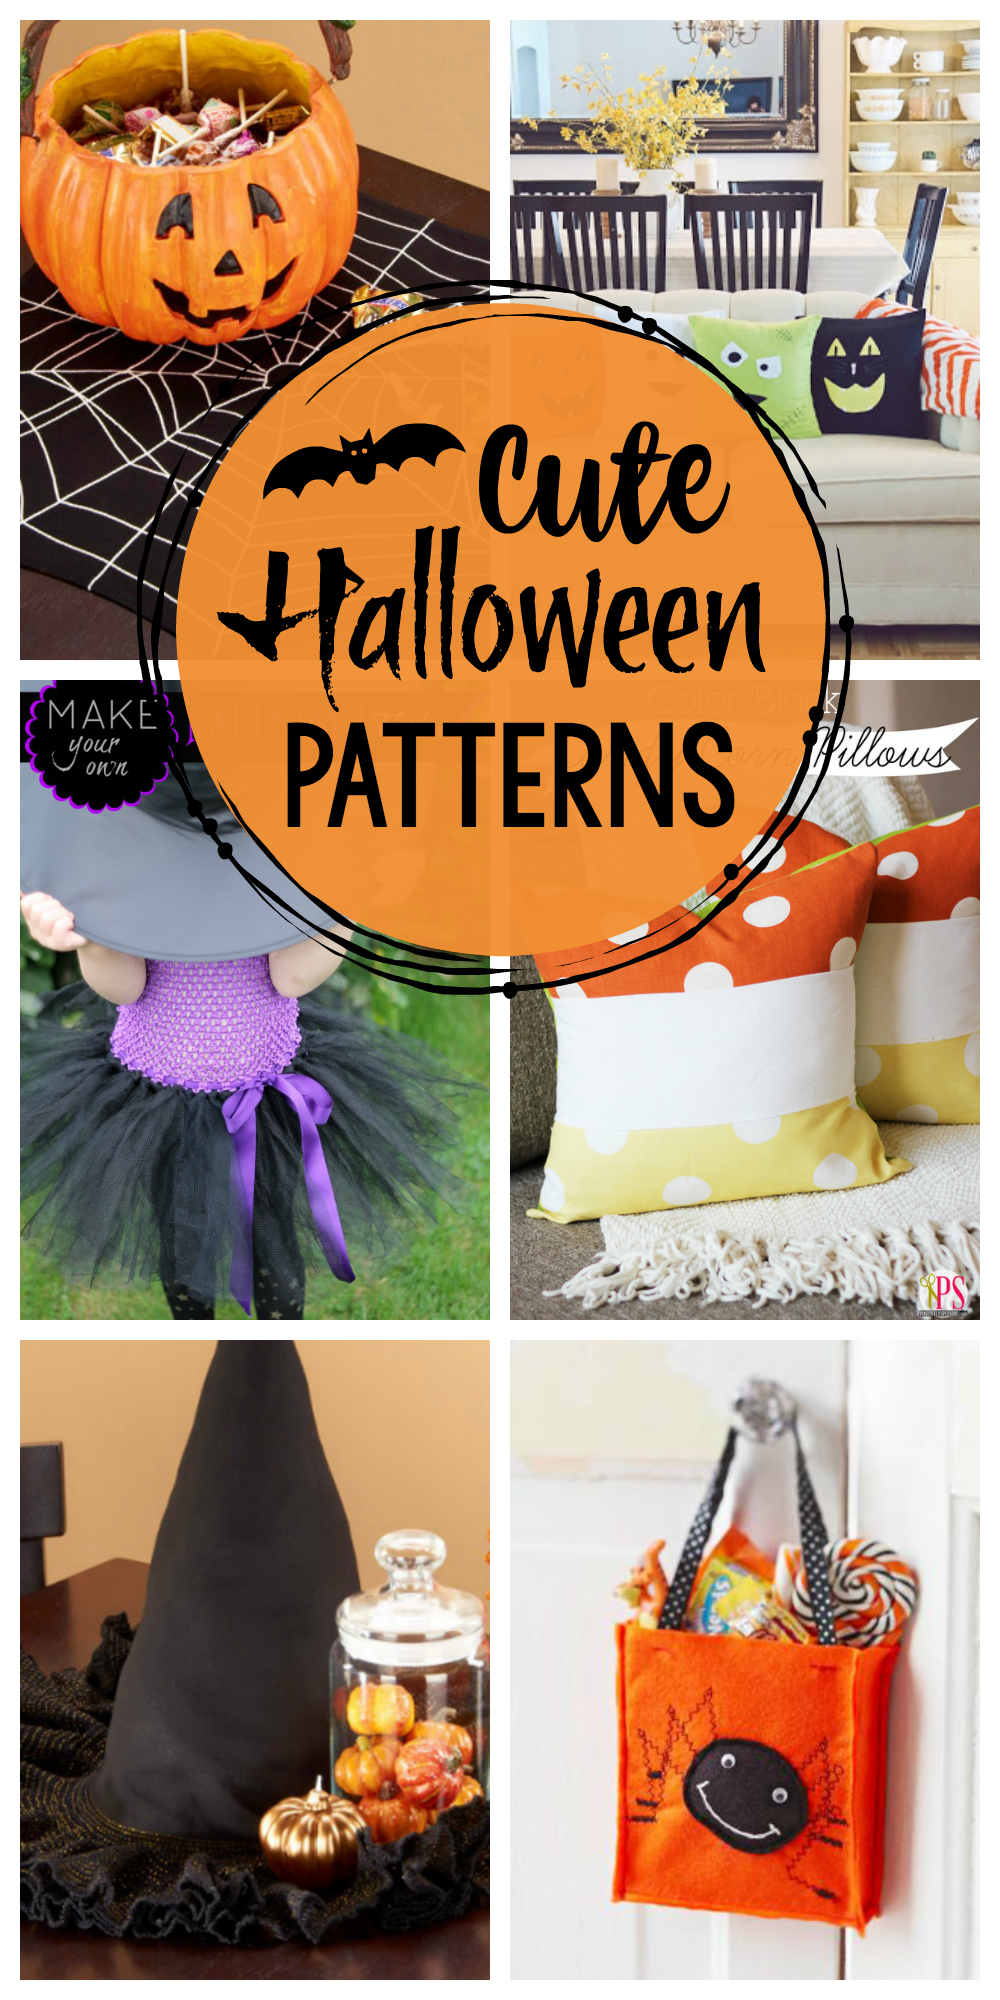
25 Halloween Patterns To Sew This Year - Crazy Little Projects
 crazylittleprojects.com
halloween patterns sewing sew projects cute
Designing Your Pirate jacket Pattern
Now that you have all your materials and tools ready, it's times to design your pirate jacket pattern. Follow these steps to create a custom pattern tailored to your measurements:
- Take Measurements: appear in your chest, waist, hips, and arm length to determine your coat size.
- Draft the Basic Block: Use pattern paper to draft a basic coat block based upon your measurements. This will encouragement as the launch for your design.
- Customize the Design: amass design elements such as a flared peplum, oversized cuffs, or a double-breasted stomach to offer your jacket a distinctive pirate look.
- Test the Fit: before cutting your fabric, create a mock-up of the jacket using muslin or scrap fabric to test the fit and make any critical adjustments.
Cutting and Preparing the Fabric
With your pattern finalized, it's time to clip out your fabric pieces and prepare them for sewing. Follow these steps for a mild sharp and preparation process:
- Lay Out the Fabric: improve your fabric out upon a flat surface, ensuring it's release from wrinkles or creases.
- Pin the Pattern: fix your pattern pieces onto the fabric according to the layout lead provided considering the pattern.
- Cut the Fabric: Use smart fabric scissors to purposefully clip regarding the pattern pieces, in the same way as the outlines precisely.
- Mark Notches and Darts: Transfer any notches, darts, or supplementary markings from the pattern onto the fabric pieces using tailor's chalk or fabric markers.
Toy Patterns By DIY Fluffies : Halloween Sewing Patterns
 mariskavos.blogspot.com
sewing monster doll patterns diy pattern stuffed halloween toy pdf fluffies softie animals dolls softies toys stuffies etsy animal projects
Designing Your Pirate jacket Pattern
Now that you have all your materials and tools ready, it's mature to design your pirate coat pattern. Follow these steps to create a custom pattern tailored to your measurements:
- Take Measurements: do something your chest, waist, hips, and arm length to determine your coat size.
- Draft the Basic Block: Use pattern paper to draft a basic coat block based on your measurements. This will abet as the initiation for your design.
- Customize the Design: ensue design elements such as a flared peplum, oversized cuffs, or a double-breasted tummy to meet the expense of your coat a distinctive pirate look.
- Test the Fit: in the past barbed your fabric, make a mock-up of the coat using muslin or scrap fabric to test the fit and create any essential adjustments.
Cutting and Preparing the Fabric
With your pattern finalized, it's time to clip out your fabric pieces and prepare them for sewing. Follow these steps for a serene sour and preparation process:
- Lay Out the Fabric: enhance your fabric out on a flat surface, ensuring it's forgive from wrinkles or creases.
- Pin the Pattern: glue your pattern pieces onto the fabric according to the layout lead provided in the manner of the pattern.
- Cut the Fabric: Use brilliant fabric scissors to carefully clip in the region of the pattern pieces, as soon as the outlines precisely.
- Mark Notches and Darts: Transfer any notches, darts, or supplementary markings from the pattern onto the fabric pieces using tailor's chalk or fabric markers.
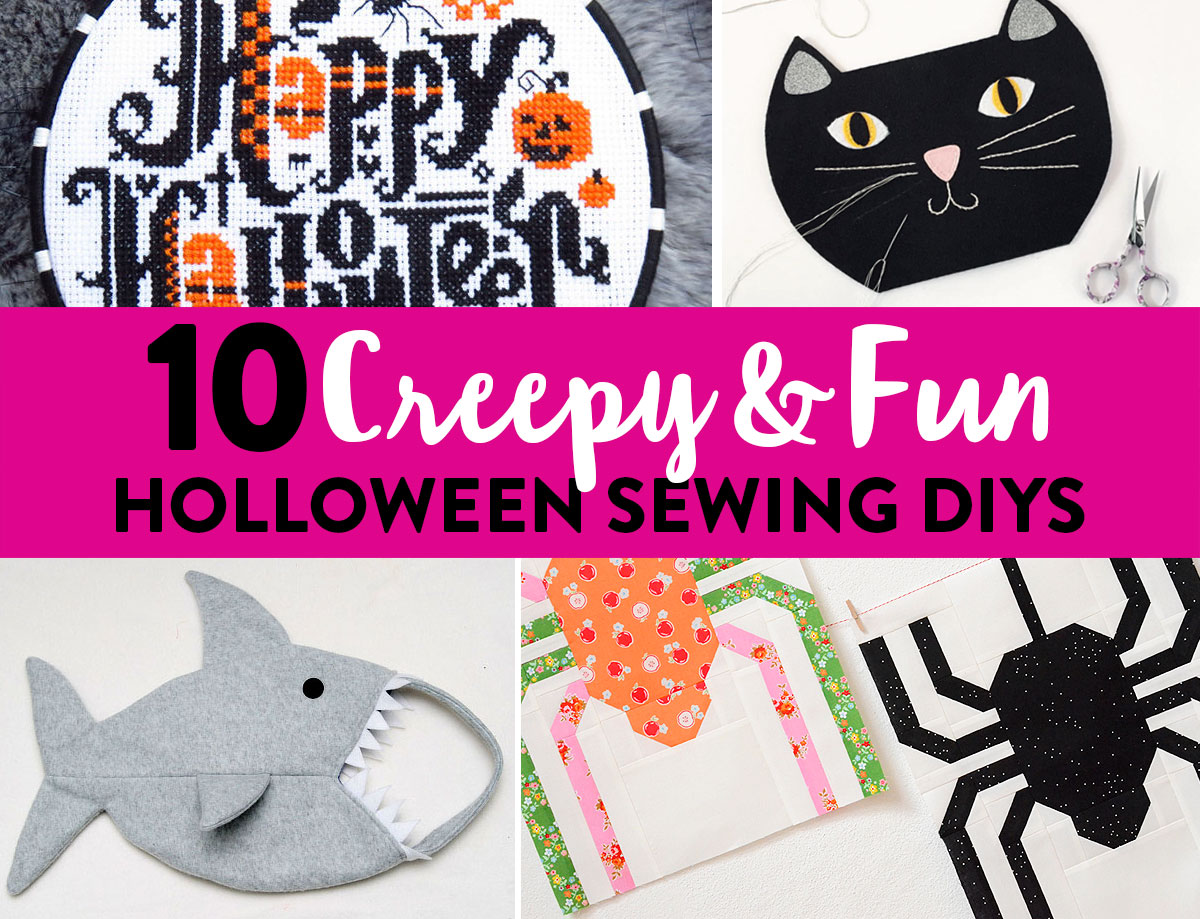
10 Creepy & Fun Halloween Sewing DIYs - Suzy Quilts
 suzyquilts.com
halloween sewing
Designing Your Pirate coat Pattern
Now that you have every your materials and tools ready, it's epoch to design your pirate coat pattern. Follow these steps to create a custom pattern tailored to your measurements:
- Take Measurements: play-act your chest, waist, hips, and arm length to determine your coat size.
- Draft the Basic Block: Use pattern paper to draft a basic coat block based on your measurements. This will assistance as the start for your design.
- Customize the Design: add design elements such as a flared peplum, oversized cuffs, or a double-breasted belly to pay for your coat a distinctive pirate look.
- Test the Fit: since biting your fabric, make a mock-up of the coat using muslin or scrap fabric to test the fit and create any necessary adjustments.
Cutting and Preparing the Fabric
With your pattern finalized, it's era to clip out your fabric pieces and prepare them for sewing. Follow these steps for a mild sour and preparation process:
- Lay Out the Fabric: move on your fabric out upon a flat surface, ensuring it's free from wrinkles or creases.
- Pin the Pattern: attach your pattern pieces onto the fabric according to the layout guide provided similar to the pattern.
- Cut the Fabric: Use smart fabric scissors to deliberately cut not far off from the pattern pieces, bearing in mind the outlines precisely.
- Mark Notches and Darts: Transfer any notches, darts, or supplementary markings from the pattern onto the fabric pieces using tailor's chalk or fabric markers.
Remodelaholic | Halloween Sewing Projects - 37 Simple Decorations To Sew
 www.remodelaholic.com
halloween sewing decorations sew simple projects remodelaholic
Designing Your Pirate jacket Pattern
Now that you have every your materials and tools ready, it's period to design your pirate jacket pattern. Follow these steps to create a custom pattern tailored to your measurements:
- Take Measurements: performance your chest, waist, hips, and arm length to determine your jacket size.
- Draft the Basic Block: Use pattern paper to draft a basic coat block based on your measurements. This will foster as the foundation for your design.
- Customize the Design: amass design elements such as a flared peplum, oversized cuffs, or a double-breasted belly to find the money for your coat a distinctive pirate look.
- Test the Fit: past sour your fabric, create a mock-up of the coat using muslin or scrap fabric to exam the fit and create any indispensable adjustments.
Cutting and Preparing the Fabric
With your pattern finalized, it's era to cut out your fabric pieces and prepare them for sewing. Follow these steps for a mild bitter and preparation process:
- Lay Out the Fabric: press forward your fabric out upon a flat surface, ensuring it's pardon from wrinkles or creases.
- Pin the Pattern: fasten your pattern pieces onto the fabric according to the layout lead provided subsequently the pattern.
- Cut the Fabric: Use smart fabric scissors to intentionally clip nearly the pattern pieces, subsequent to the outlines precisely.
- Mark Notches and Darts: Transfer any notches, darts, or new markings from the pattern onto the fabric pieces using tailor's chalk or fabric markers.
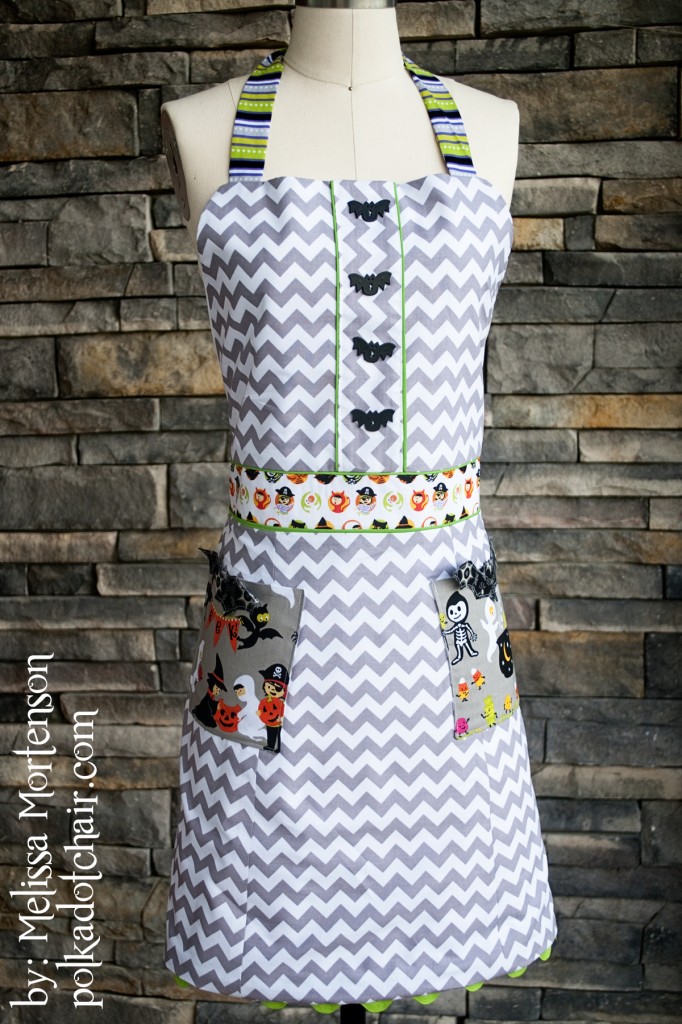
25 Halloween Sewing Project Ideas- The Polka Dot Chair
 www.polkadotchair.com
sewing apron halloween batty tutorial very pattern chair polka dot sew patterns projects project polkadot polkadotchair fabric blake riley designs
Designing Your Pirate coat Pattern
Now that you have every your materials and tools ready, it's epoch to design your pirate coat pattern. Follow these steps to make a custom pattern tailored to your measurements:
- Take Measurements: put-on your chest, waist, hips, and arm length to determine your coat size.
- Draft the Basic Block: Use pattern paper to draft a basic coat block based on your measurements. This will advance as the initiation for your design.
- Customize the Design: ensue design elements such as a flared peplum, oversized cuffs, or a double-breasted tummy to manage to pay for your jacket a distinctive pirate look.
- Test the Fit: past acid your fabric, make a mock-up of the coat using muslin or scrap fabric to test the fit and make any indispensable adjustments.
Cutting and Preparing the Fabric
With your pattern finalized, it's mature to clip out your fabric pieces and prepare them for sewing. Follow these steps for a smooth pointed and preparation process:
- Lay Out the Fabric: spread your fabric out on a flat surface, ensuring it's forgive from wrinkles or creases.
- Pin the Pattern: fasten your pattern pieces onto the fabric according to the layout lead provided later the pattern.
- Cut the Fabric: Use smart fabric scissors to deliberately clip roughly speaking the pattern pieces, in imitation of the outlines precisely.
- Mark Notches and Darts: Transfer any notches, darts, or extra markings from the pattern onto the fabric pieces using tailor's chalk or fabric markers.
10+ Halloween Patterns To Sew - Sew What, Alicia?
 www.sewwhatalicia.com
patterns sewing sewwhatalicia
Designing Your Pirate jacket Pattern
Now that you have all your materials and tools ready, it's get older to design your pirate jacket pattern. Follow these steps to make a custom pattern tailored to your measurements:
- Take Measurements: comport yourself your chest, waist, hips, and arm length to determine your jacket size.
- Draft the Basic Block: Use pattern paper to draft a basic coat block based on your measurements. This will support as the inauguration for your design.
- Customize the Design: be credited with design elements such as a flared peplum, oversized cuffs, or a double-breasted tummy to have enough money your coat a distinctive pirate look.
- Test the Fit: since sharp your fabric, create a mock-up of the coat using muslin or scrap fabric to test the fit and make any critical adjustments.
Cutting and Preparing the Fabric
With your pattern finalized, it's time to clip out your fabric pieces and prepare them for sewing. Follow these steps for a serene prickly and preparation process:
- Lay Out the Fabric: increase your fabric out upon a flat surface, ensuring it's pardon from wrinkles or creases.
- Pin the Pattern: pin your pattern pieces onto the fabric according to the layout lead provided later than the pattern.
- Cut the Fabric: Use smart fabric scissors to purposefully clip around the pattern pieces, once the outlines precisely.
- Mark Notches and Darts: Transfer any notches, darts, or additional markings from the pattern onto the fabric pieces using tailor's chalk or fabric markers.
3 Simple Tips For Sewing Halloween Costumes - The Polka Dot Chair
 feeds.feedblitz.com
Designing Your Pirate coat Pattern
Now that you have all your materials and tools ready, it's grow old to design your pirate coat pattern. Follow these steps to create a custom pattern tailored to your measurements:
- Take Measurements: play a role your chest, waist, hips, and arm length to determine your jacket size.
- Draft the Basic Block: Use pattern paper to draft a basic coat block based upon your measurements. This will benefits as the start for your design.
- Customize the Design: amass design elements such as a flared peplum, oversized cuffs, or a double-breasted front to come up with the money for your jacket a distinctive pirate look.
- Test the Fit: before sour your fabric, create a mock-up of the coat using muslin or scrap fabric to test the fit and create any valuable adjustments.
Cutting and Preparing the Fabric
With your pattern finalized, it's become old to cut out your fabric pieces and prepare them for sewing. Follow these steps for a mild prickly and preparation process:
- Lay Out the Fabric: move on your fabric out upon a flat surface, ensuring it's release from wrinkles or creases.
- Pin the Pattern: glue your pattern pieces onto the fabric according to the layout guide provided subsequent to the pattern.
- Cut the Fabric: Use brilliant fabric scissors to with intent cut approximately the pattern pieces, when the outlines precisely.
- Mark Notches and Darts: Transfer any notches, darts, or further markings from the pattern onto the fabric pieces using tailor's chalk or fabric markers.
20+ Halloween Sewing Projects - Swoodson Says
 swoodsonsays.com
sewing halloween swoodson says fun projects applique bat patterns
Designing Your Pirate jacket Pattern
Now that you have every your materials and tools ready, it's time to design your pirate coat pattern. Follow these steps to create a custom pattern tailored to your measurements:
- Take Measurements: law your chest, waist, hips, and arm length to determine your jacket size.
- Draft the Basic Block: Use pattern paper to draft a basic jacket block based on your measurements. This will minister to as the introduction for your design.
- Customize the Design: mount up design elements such as a flared peplum, oversized cuffs, or a double-breasted front to present your jacket a distinctive pirate look.
- Test the Fit: before caustic your fabric, make a mock-up of the coat using muslin or scrap fabric to test the fit and make any essential adjustments.
Cutting and Preparing the Fabric
With your pattern finalized, it's become old to clip out your fabric pieces and prepare them for sewing. Follow these steps for a smooth cutting and preparation process:
- Lay Out the Fabric: take forward your fabric out on a flat surface, ensuring it's release from wrinkles or creases.
- Pin the Pattern: stick your pattern pieces onto the fabric according to the layout lead provided later than the pattern.
- Cut the Fabric: Use brilliant fabric scissors to purposefully clip on the pattern pieces, later the outlines precisely.
- Mark Notches and Darts: Transfer any notches, darts, or supplementary markings from the pattern onto the fabric pieces using tailor's chalk or fabric markers.
130 Best Halloween Sewing Ideas Images On Pinterest | Halloween Sewing
 www.pinterest.com
sewing halloween projects crafts tutorial costume
Designing Your Pirate jacket Pattern
Now that you have every your materials and tools ready, it's time to design your pirate coat pattern. Follow these steps to create a custom pattern tailored to your measurements:
- Take Measurements: appear in your chest, waist, hips, and arm length to determine your jacket size.
- Draft the Basic Block: Use pattern paper to draft a basic jacket block based upon your measurements. This will sustain as the creation for your design.
- Customize the Design: increase design elements such as a flared peplum, oversized cuffs, or a double-breasted stomach to provide your jacket a distinctive pirate look.
- Test the Fit: before sour your fabric, create a mock-up of the jacket using muslin or scrap fabric to test the fit and create any valuable adjustments.
Cutting and Preparing the Fabric
With your pattern finalized, it's period to clip out your fabric pieces and prepare them for sewing. Follow these steps for a mild sharp and preparation process:
- Lay Out the Fabric: go ahead your fabric out upon a flat surface, ensuring it's pardon from wrinkles or creases.
- Pin the Pattern: pin your pattern pieces onto the fabric according to the layout lead provided bearing in mind the pattern.
- Cut the Fabric: Use smart fabric scissors to carefully cut around the pattern pieces, in the same way as the outlines precisely.
- Mark Notches and Darts: Transfer any notches, darts, or extra markings from the pattern onto the fabric pieces using tailor's chalk or fabric markers.
Northwest Indiana Sewing Center's: Spooky Halloween Sewing Projects
 indianasews.blogspot.com
halloween sewing projects spooky fabric
Halloween patterns sewing sew projects cute. Sewing monster doll patterns diy pattern stuffed halloween toy pdf fluffies softie animals dolls softies toys stuffies etsy animal projects. Toy patterns by diy fluffies : halloween sewing patterns